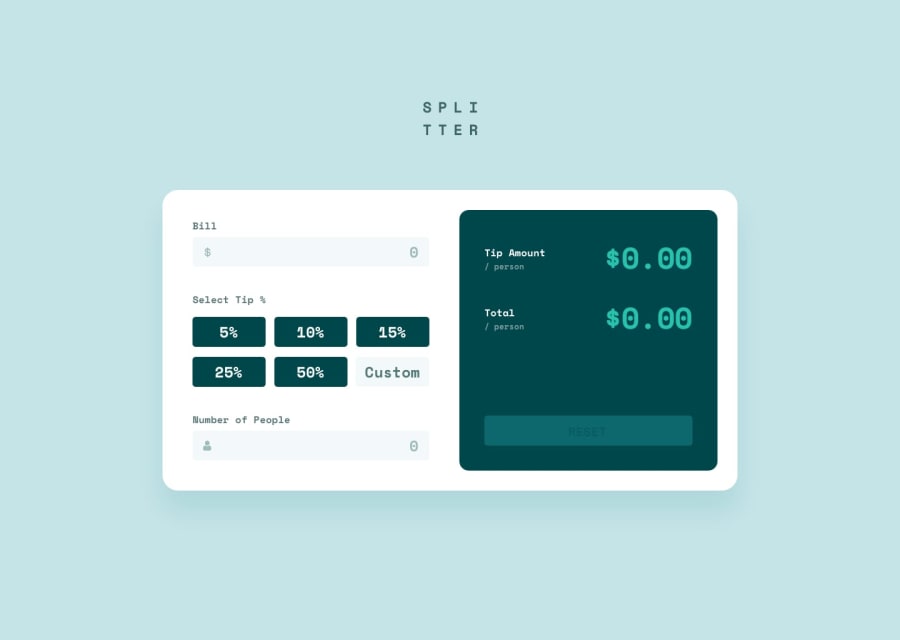
Design comparison
Solution retrospective
I started by creating all the HTML elements and assigning them classes. Next, I started to work on the above card section, where I changed the sizing and spacing between the card and logo. Then, I moved onto the card I started by figuring out things like the padding, border radius, and box shadow. After spending some time playing around with the values for the properties, I moved onto the right section of the card. I styled the prices, subtitles, and spans. I spent some time learning about text inputs, and some of the different properties and parameters you can set. I created 3 inputs, and set each one to the type text, and set max and min lengths, classes, and placeholders. I used properties like position: absolute to get the image for each input in the right spot, and moved onto the buttons. I customized the border radius, hover colors, transition, and fonts. Afterward, I worked on the JavaScript, where I learned some new things such as specifying to go to 2 decimal places on numbers and limiting the characters that can be used for inputs. I spent some time creating a function for calculating the tip (using basic logic and math skills, and translating that to code). Lastly, I repeatedly tested the functionality of the calculator fixing bugs and issues that weren't intended. Once I finished, I tested the website on multiple browsers, added some responsive design using media queries, and used the built-in device size emulation feature to view what the website would look like on different devices.
Community feedback
- @Grego14Posted 7 months ago
Hello! 🎉 congratulations on completing the challenge! 🎉
I have found a bug.
When you only select a tip, write in the bill input or write in the people input without filling out all the inputs and choosing the necessary tip, the tip amount and the total amount are calculated with undefined values. I think you could solve it if you make it only update when the user types in the bill input.
I recommend adding the autocomplete='off' attribute to the inputs.
When you work with DOM elements you obtain them using getElementById.
You can add a custom class .tipbutton to all the tips and save yourself some code like this:
const tips = document.querySelectorAll('.tipbutton')Set tip = 0 and not tip = NaN, as it can cause bugs.
You can use the datasets in each type to assign them a value, example:
<button class="tipbutton tipbutton1" data-tip='0.05'>5%</button>
<button class="tipbutton tipbutton2" data-tip='0.1'>10%</button>
<button class="tipbutton tipbutton3" data-tip='0.15'>15%</button>
<button class="tipbutton tipbutton4" data-tip='0.25'>25%</button>
<button class="tipbutton tipbutton5" data-tip='0.5'>50%</button>
The final code would be something like this:
const tips = document.querySelectorAll('.tipbutton')

manageTips(e){
  tip = parseFloat(e.target.dataset.tip);

  for(let tip of tips){
    if(tip !== e.target){
      tip.classList.remove('clicked')
    }
  }
  e.target.classList.add('clicked')
}

// Here you would be adding a single eventListener and improving the performance of the website
for(let tip of tips){
  tip.addEventListener('click', manageTips)
}
I recommend that you read this article in which they make some examples of what Event Delegation is to use it in your events and improve performance.
From this:
billamount.addEventListener("input", acceptCharacters);
peoplenumber.addEventListener("input", acceptCharacters);
tipcustom.addEventListener("input", acceptCharacters);
to this:
document.addEventListener('input', acceptCharacters);I hope this helps! 😁
0
Please log in to post a comment
Log in with GitHubJoin our Discord community
Join thousands of Frontend Mentor community members taking the challenges, sharing resources, helping each other, and chatting about all things front-end!
Join our Discord
