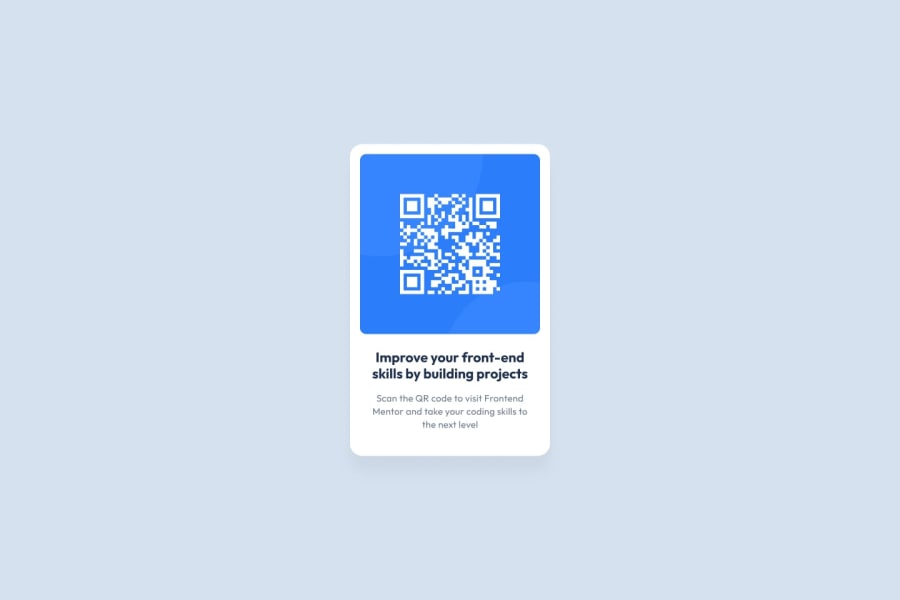
Design comparison
Solution retrospective
Bueno les presento mi segunda solucion, aplicando un poco mas lo que voy aprendiendo, si me pudiesen dar criticas constructivas de como mejorar se los agradeceria. Sigo siendo un novato pero poco a poco voy a aumentar la dificultad de los retos para seguir mejorando. Saludos
Community feedback
- @correlucasPosted about 2 years ago
👾Hi @Gabo-boy, congratulations on your solution!👋 Welcome to the Frontend Mentor Coding Community!
Great solution and a great start! From what I saw you’re on the right track. I’ve few suggestions for you that you can consider adding to your code:
- Add the website favicon inserting the svg image inside the
<head>.<link rel="icon" type="image/x-icon" href="./images/favicon-32x32.png"> - The main heading has the tag
<h2>, in this case, you should replace it with<h1>since this heading is the main title on this page. Remember that every page should have one<h1>to declare which is the most important title and that you should follow the hierarchy using the heading sequence(h1, h2, h3, h4, h5)and never jump a level. - Clean your code by removing some unnecessary divs, most of the content can stand alone without a div. Use div only for blocks that need a special alignment or the content needs a special positioning.
- Add a margin of around
margin: 20pxto avoid the card touching the screen edges while it scales down. - Use relative units as
remoreminstead ofpxto improve your performance by resizing fonts between different screens and devices. These units are better to make your website more accessible. REM does not just apply to font size, but to all sizes as well.
Here's my solution for this challenge if you wants to see how I build it: https://www.frontendmentor.io/solutions/qr-code-component-vanilla-cs-js-darklight-mode-nS2aOYYsJR
✌️ I hope this helps you and happy coding!
Marked as helpful0 - Add the website favicon inserting the svg image inside the
- @MelvinAguilarPosted about 2 years ago
Hola @Gabo-boy,
Quería comentarte unas sugerencias para que puedas mejorar:
Tu puedes crear un repositorio en GitHub para cada solución que realices, para que se haga mas sencillo, también puedes tener todas las soluciones en un mismo repositorio y en diferentes carpetas, pero por el momento te recomiendo un repositorio por cada solución.
En este caso subiste las cosas en el mismo repositorio que tu solución anterior y los archivos están erróneos, por ejemplo, en el repositorio no esta la imagen del código QR, sin embargo, están las imágenes de tu solución anterior, por eso es mejor tener 2 repositorios, uno para este desafió y otro para el anterior, así cada imagen estará en su propio desafió
Puedes hacer deploy en Vercel si deseas, en Youtube hay muchos tutorial si te confundes en algún paso
Luego conforme al código te sugiero lo siguiente:
Agrega una etiqueta
<h1>en su solución. El elemento<h1>es el encabezado principal de una página web. Solo debe haber una etiqueta<h1>por página, y siempre evite saltarse los niveles de encabezado; comience siempre desde<h1>, seguido de<h2>y así sucesivamente hasta<h6>(<h1>,<h2>,...,<h6>). [Los elementos de encabezado (referencia)] (https://developer.mozilla.org/es/docs/Web/HTML/Element/Heading_Elements)Actualiza el <h2> a <h1>:
<h1>Improve your front-end skills by building projects</h1>El elemento <span> es un poco innecesario, tu puedes simplemente aplicar tus estilos al párrafo directamente, el <span> se ocupa como un contenedor en la misma linea y tu puedes tener estilos para ese sector de texto, por ejemplo:
<p>Tengo ojos <span style="color: blue">azules</span>.</p>Espero que esos consejos te ayuden.
Buen trabajo 🎉
Marked as helpful0
Please log in to post a comment
Log in with GitHubJoin our Discord community
Join thousands of Frontend Mentor community members taking the challenges, sharing resources, helping each other, and chatting about all things front-end!
Join our Discord
