Not Found
Not Found
Not Found
Not Found
Not Found
Not Found
Not Found
Not Found
Not Found
Not Found
Not Found
Not Found
Not Found
Not Found
Not Found
Not Found
Not Found
Not Found
Not Found
Not Found

Submitted

Responsive QR Page using CSS Flex

@Riktam-Santra

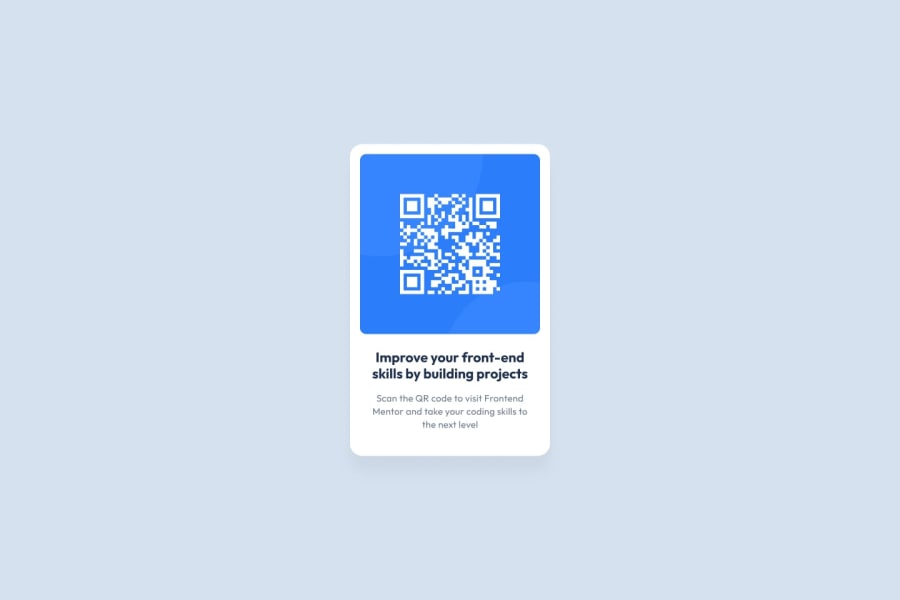
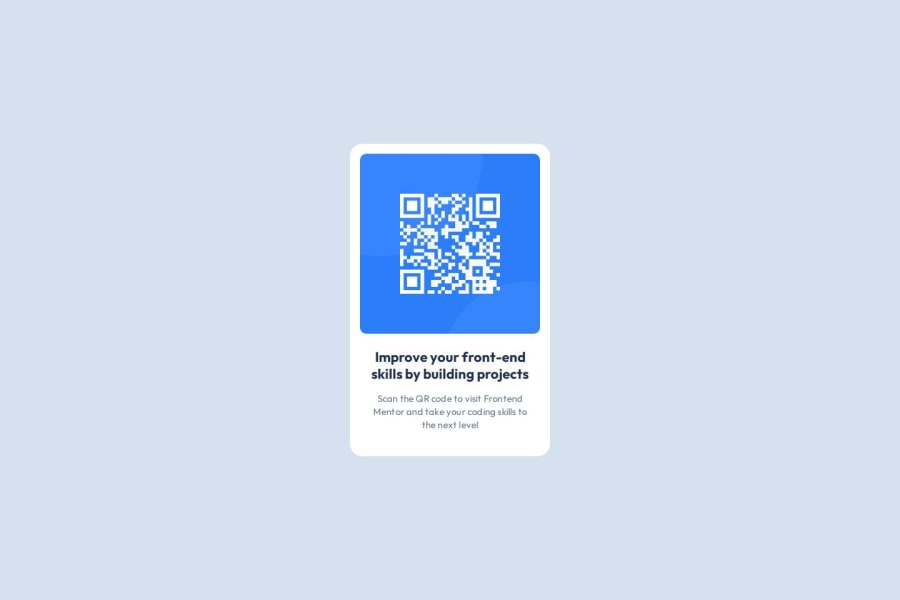
Desktop design screenshot for the QR code component coding challenge

This is a solution for...

  • HTML
  • CSS
1newbie
View challenge

Design comparison


SolutionDesign

Community feedback

P

@Islandstone89

Posted

HTML:

  • Remove the empty <h1>.

  • You're using way too many <div> elements. There is only a need for one <div>, which holds the card content. I would simplify the HTML structure to this:

<main>
    <div class="card">
        <img>
        <h2>Improve your front-end skills by building projects</h2>
        <p>Scan the QR code to visit Frontend Mentor and take your
         coding skills to the next level</p>
    </div>
</main>
  • A better alt text would be "QR code leading to the Frontend Mentor website."

CSS:

  • It is best practice to write CSS in a separate file, often called style.css. Create one in the same folder as the index.html, and link to it in the <head>: <link rel="stylesheet" href="style.css">.

  • Including a CSS Reset at the top is good practice.

  • The blue background-color should be set on the body.

  • Set the font-family on body, and remove it elsewhere. The children of body will inherit the font.

  • I would recommend adding 1rem of padding on the body, to ensure the card doesn't touch the edges on small screens.

  • To center the card horizontally and vertically, I would use Flexbox on the body:

display: flex;
flex-direction: column;
justify-content: center;
align-items: center;
min-height: 100svh;
  • max-width on the card should be in rem. Around 20rem will work fine.

  • font-size must never be in px. This is a big accessibility issue, as it prevents the font size from scaling with the user's default setting in the browser. Use rem instead.

  • letter-spacing must also not be in px. You can use em, where 1em equals the element's font size.

  • Since all of the text should be centered, you only need to set text-align: center on the body, and remove it elsewhere. The children will inherit the value.

  • On the image, add display: block and max-width: 100% - the max-width prevents it from overflowing its container. Without this, an image would overflow if its intrinsic size is wider than the container. max-width: 100% makes the image shrink to fit inside its container.

Marked as helpful

1

@gonskaya

Posted

Hey there! Frontendmentor wants me to comment on your solution as part of my learning path, and while I don't feel qualified to give CSS or HTML advice, one thing I could suggest is adding a box-shadow to your design to make it even more similar to the original.

You can actually find the shadow properties in the Figma file. It's under ''Effects" in the right-hand sidebar when you view the designs. Hope this is helpful.

Marked as helpful

0
P
Ember 40

@BlueEmber01

Posted

You're design looks great, looks nearly identical! Your code is overall easy to read, but I would suggest putting your css into a stylesheet. Having it in your html file for this project is fine and it worked, but for bigger projects it will probably make it too busy and hard to read. Overall though, great job! Keep going!

Marked as helpful

0
47tropfen 10

@47tropfen

Posted

It looks like the original one. I think it’s a very good job.

0

Please log in to post a comment

Log in with GitHub
Discord logo

Join our Discord community

Join thousands of Frontend Mentor community members taking the challenges, sharing resources, helping each other, and chatting about all things front-end!

Join our Discord