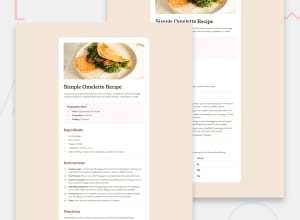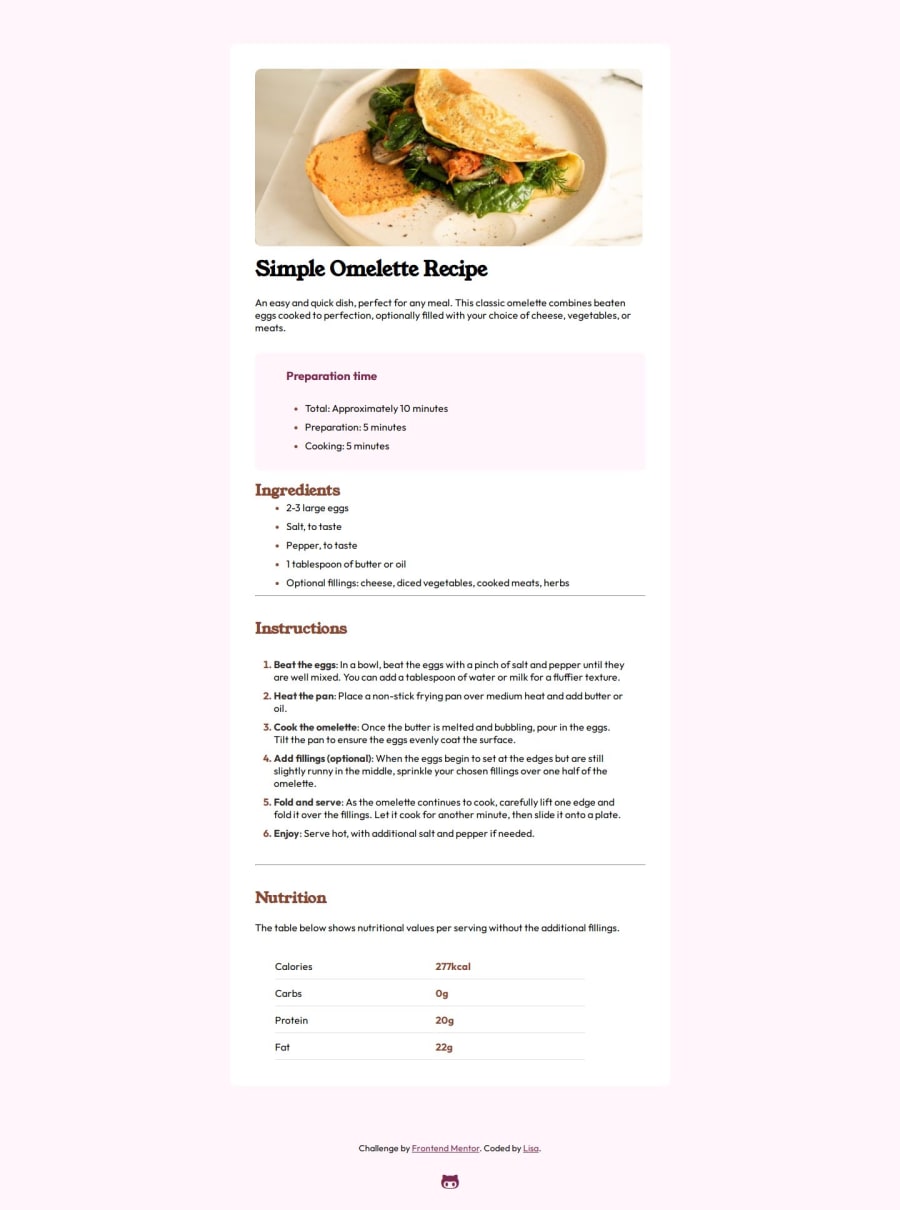
Design comparison
Solution retrospective
Any tips will be helpful! Thanks for taking the time to look at my work :D
Community feedback
- @grace-snowPosted 25 days ago
This is overflowing on the sides when I view on mobile because you’ve used explicit widths.
I’m a little surprised to see the code in this actually as it looks like you’ve done a lot of challenges already and can’t have had good quality feedback. I’ll try to list out a load of things and hopefully they can help you go back and refactor this and others.
- to achieve the layout easily in this I’d expect all text content to be in one div, a sibling to the img. This allows you to make the padding changes in one go from mobile to desktop, applying padding to the text div in mobile only. This removes all the need for strange side paddings or margins on child elements which are unnecessary.
- aria-label does not belong on an img and must be removed. The alt needs to give a proper description of the image, conveying the same information as the image does. Craig Abbott has written a great blog article about how and when to write alt text if you want to look that up.
- headings should go in hierarchical order. It’s about structure, not sizes in the design. That means preparation should be a h2.
- the spans with title class should be strong tags because they are there for emphasis.
- in the table it is essential to use header and data cells appropriately. They cannot all be header cells.
- the header cells that should be there should also have the
scope
attribute set to “row” to make clear they are row headers and not column headers. - on the GitHub link at the end the aria-label needs to be placed on the link itself and not on the icon. Meaningless elements cannot have aria-labels, that can only go on an element that has an allowed role.
- get into the habit of including a full modern css reset at the start of the styles in every project. Andy Bell has one that would work well on this and most projects.
- don’t style the html. The background colour should be on the body. And make sure it’s the same background colour that was in the design.
- font sizes should always be in rem not px. https://fedmentor.dev/posts/font-size-px/
- it’s very unusual to place padding on text nodes like headings. Make sure you understand the difference between padding and margin (there’s a post about that on the same site just linked)
- the component should not have a width, only a max width. And this should be in rem so that the layout scales well for all users including those with a different font size setting. It’s important to understand why you should be using max-width and not width here — so that the component is able to shrink narrower when it needs to like when there isn’t enough space.
- similarly the img must not have a width. It doesn’t need a rem max width either. It only needs what is already included in any modern css reset: width 100% and display block.
- the table should be like the image and only have a max-width 100%. The table will also need collapsed borders.
- really this and most components should be styled mobile first. It wouldn’t be much work to change that even at this stage.
- I recommend using rem or em to define media queries, not pixels. Again this is to help those who change their default text size, ensuring the layout switches for them at an appropriate time. (There’s an article about media queries on the site too)
- very little needs to change between the mobile and desktop view in this challenge. If you go through the above changes particularly removing all the side paddings and margins I’d expect there only to be a couple of lines needed in the media query to change the max width of the component and where the padding is applied.
Good luck.
Marked as helpful3@CrypticMangoPosted 24 days ago@grace-snow Thank you I will go through my completed challenges and make changes
0 - @jdrodriguez2707Posted 26 days ago
Hey @CrypticMango, congrats! Your solution looks awesome. You used semantic HTML really well, the design is responsive, and the code is well-structured and readable. Plus, you added some nice touches for accessibility like the
aria-label
attribute.Just a tiny thing: the preparation time section looks a bit different from the design; maybe it's more to the right than it needs to be. I think it might look better if it was more to the left, like in the design. But that's just my opinion. Overall, your solution is super complete. Congrats again! Keep it up! 🎉
Marked as helpful0@CrypticMangoPosted 26 days ago@jdrodriguez2707 Thank you so much for checking out my solution i appreciate it. I will look at the preparation time section and fix it up.
1@grace-snowPosted 25 days ago@jdrodriguez2707 The aria label has actually been misused in this and needs removing!
1@jdrodriguez2707Posted 25 days ago@grace-snow Oh, I thought it was valid to add it to an img element. Is it misused because the img element already has the 'alt' attribute?
0@grace-snowPosted 24 days ago@jdrodriguez2707 Yes exactly. There must be an alt attribute and that is used to determine if the img is meaningful or decorative. It must not have an aria-label.
Aria-labels are for labelling landmarks (where necessary) and controls (like links, buttons or form fields).
1@CrypticMangoPosted 24 days ago@grace-snow Okay good to know! At some point while doing these challenges it was mentioned that i should add aria labels that's why i have been using them. but thank you for the information.
0
Please log in to post a comment
Log in with GitHubJoin our Discord community
Join thousands of Frontend Mentor community members taking the challenges, sharing resources, helping each other, and chatting about all things front-end!
Join our Discord