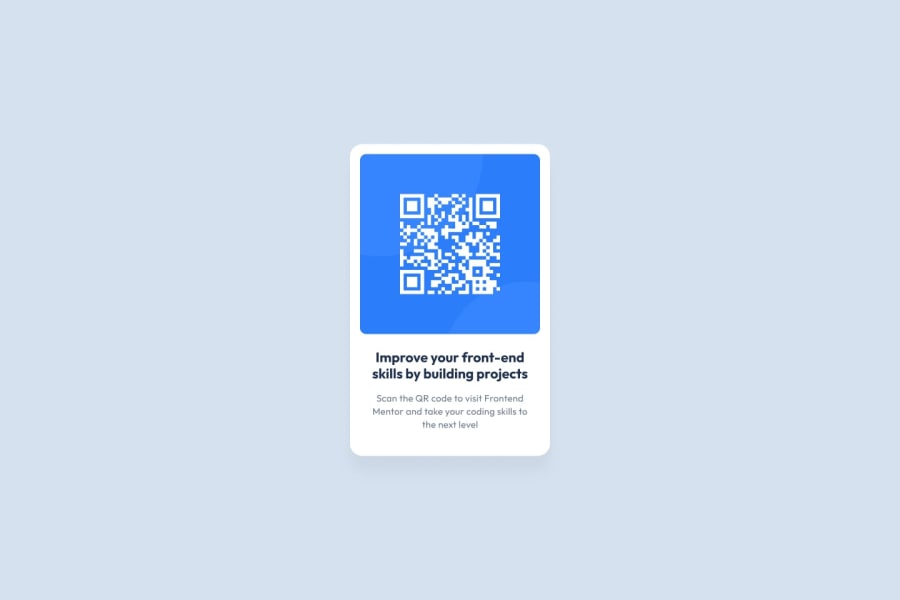
QR-Code-Component Using React, TypeScript, HTML, styled-components
Design comparison
Solution retrospective
While building this project I faced some difficulties but I found answers to them online except one! After I download the project I wanted to install "Vite" to my project but was unable to do that. So my question is how can we install "Vite" to an existing project?? and that's it.
Community feedback
- @grace-snowPosted over 1 year ago
Hi
Have you intentionally made this look totally different to the design? The goal of the challenges is to build out the supplied design just like in a real job, so this wouldn't be accepted in those circumstances I'm afraid.
You need to make some changes (as well as adjusting the styles to match design and using the supplied assets)
- Use landmarks. Every page should at least have a main element
- Once you are using the correct image, it does not need wrapping in a div. Only the card itself needs padding on this
- The alt description should ideally be more meaningful. A QR code is a scannable image, so say where the code goes to. Imagine a real world scenario where this component would be used - There could be multiple cards on one page, so it wouldn't work if every image was described only as "QR code" "QR code" "QR code"
- The card should not have an explicit width, only a max-width. And this should be in rem, not px. This will allow the component to work on all screen sizes, even if users change their text size, as it allows the card to remain proportional to that text size and allows it to shrink when needed without overflowing the screen.
- Font size must never ever be in px. Use rem. This is extremely important so that user text size preferences can be respected.
- You appear to be confusing margin and padding a little in this but part of that may be due to deviating from the design. I would expect the card to have padding as that is for internal spacing - keeping the child elements from touching its edges - and the child elements to only have vertical margins to create external space between each element
- Is there a reason you've used a heading level 3 in this? (Not necessarily wrong, but depends on your reasoning)
- This completely breaks on mobile landscape because you have set a wrapping element to
height: calc(100vh);
. This limits the height of the body and means the card gets positioned off part of the screen, making the QR code unusable. Rule: Never limit the height of elements that contain text, and hardly use height at all. The only exceptions I can think of are for icons or some images. Let the browser decide on the height required for the content. This would be fixed in your case by changing height to min-height, allowing the body to grow and extend beyond the screen height when needed. - Make sure either the component has a little margin or a wrapping element has a little padding. This will stop it hitting screen edges on some devices.
- Always include a CSS reset at the very start of a stylesheet. Look up the modern CSS reset by Andy Bell which has a good explainer blog about it
I hope this is helpful. These are all really important foundations you need to start building into every project
Marked as helpful1@Wali1209Posted over 1 year agoHi! @grace-snow Thank You very much for your Valuable Feedback! Yes, I do make this look different deliberately! Yeah Definitely in the real job, it can't be acceptable, and I will make changes to it to match the design.
Actually, I want to use (https://goqr.me/api/) API in my challenge to generate a QR Code image, it generates QR Code with a different color so I do make this look different but it's not quite Intentional!
0@Wali1209Posted over 1 year agoNope! I have no solid reason for using the h3 tag, It seems h3 heading in the sample design I didn't think of it much TBH. And I am gonna make changes according to your feedback and let you know when I'm done. Your Feedback helping me a lot, hats off to you @grace-snow!
0 - @Cyber-ChicPosted over 1 year ago
Great job starting your project! 😊
I have not used Vite and am not sure if this is the information you're looking for, but I think my suggestion may be able to help you:
I build all of my projects with StackBlitz. You link it to your GitHub account then select the type of project you are trying to create. I select the option to create a Static HTML page, but there are many other options to select including Vite. Your project starts with all of the folders you will need. For example, my Static HTML project starts of with a built in style-sheet, Index folder, JavaScript folder and a second HTML page. Once you are done you can instantly upload your project to GitHub. Additionally, you can also instantly upload your current GitHub Repository to StackBlitz and edit it there. It's a free site that's really easy to use and has helped me immensely.
Hope this is helpful! Happy coding!
-Angie
Marked as helpful1@Wali1209Posted over 1 year agoThanks a lot, @Cyber-Chic it is surely helpful, and I will try StackBlitz with my next project hopefully :)
1@Cyber-ChicPosted over 1 year ago@Wali1209 My pleasure! Glad to help! 😊
Marked as helpful0@Wali1209Posted over 1 year agoHI @Cyber-Chic I'm trying stackBlitz but having trouble with the interface I don't even know how to upload my local files to the project and there's no useful tutorial on youtube so I'm back to the Expert :P
0@Cyber-ChicPosted over 1 year agoHi @Wali1209
You can drag and drop your local files into your StackBlitz project. Also, if you are trying to upload files from an existing GitHub repository, you can do so by clicking Connect Repository. I created a quick: tutorial to help illustrate this. I was not sure what type of Vite project you were created so I selected Vanilla Vite. Regardless of which project you start, the tutorial should still be applicable.
In the video, I hovered around a side labeled files. This is where you can drag and drop your local files. Your project initially starts with per-created folders. Dragging and dropping your files will replace them. Also, you can delete any folders you don't want.
I also hovered over the Connect Repository button so that you can see where to access it. Once connected, you will see a blue commit button in its place. Pressing that button will save your changes to the linked GitHub Repository.
Hope this helps! 😊
Angie
Marked as helpful1@Wali1209Posted over 1 year agoThanks a lot, @Cyber-Chic I was thinking about drag & drop thing earlier but I was sure It not gonna work so I didn't try it XD
Now it seems that StackBlitz is extremely easy and useful Thanks to you Angela
But having some concerns with the terminal window cuz I'm unable to use some of my fav commands but sure gonna figure this out gradually
And that's it everything looks fine but still never gonna neglect VSCode 😅
1@Cyber-ChicPosted over 1 year ago@Wali1209 So glad I was able to help! VSCode also sounds like a great choice!
Happy Coding! 😊
Angie
Marked as helpful1
Please log in to post a comment
Log in with GitHubJoin our Discord community
Join thousands of Frontend Mentor community members taking the challenges, sharing resources, helping each other, and chatting about all things front-end!
Join our Discord