


Design comparison
Solution retrospective
I used HTML and CSS. I centered the whole thing with Flexbox, I don't know if that was the right way to go though? The readme file of the challenge gave the width for mobile and desktop. But I didn't use that in my code, how should I use this? When checking in inspector mode in chrome on the exact width of the mobile version it already looked exactly as it should be without having to do anything in CSS to scale it, is this because of flexbox?
Feedback is welcome. I was wandering if I was using things that are unnecessary. Also, for some reason the live deployment of github doesn't show the image...?
Community feedback
- @fernandolapazPosted over 1 year ago
Hi 👋, regarding your questions:
🔹The widths given in the style guide are only for the purpose of having them as a reference when comparing, not to use them in the code. In the case of the mobile version, it is especially useful to set the width to 375px while in inspect mode.
🔹The page content could be centered using Grid or Flexbox. For example as follows:
body {
  min-height: 100vh;
  display: grid;
  place-content: center;
}
(and you should remove the margins)
Also, perhaps some of this may interest you:
HTML 🧱, ACCESSIBILITY ⚖:
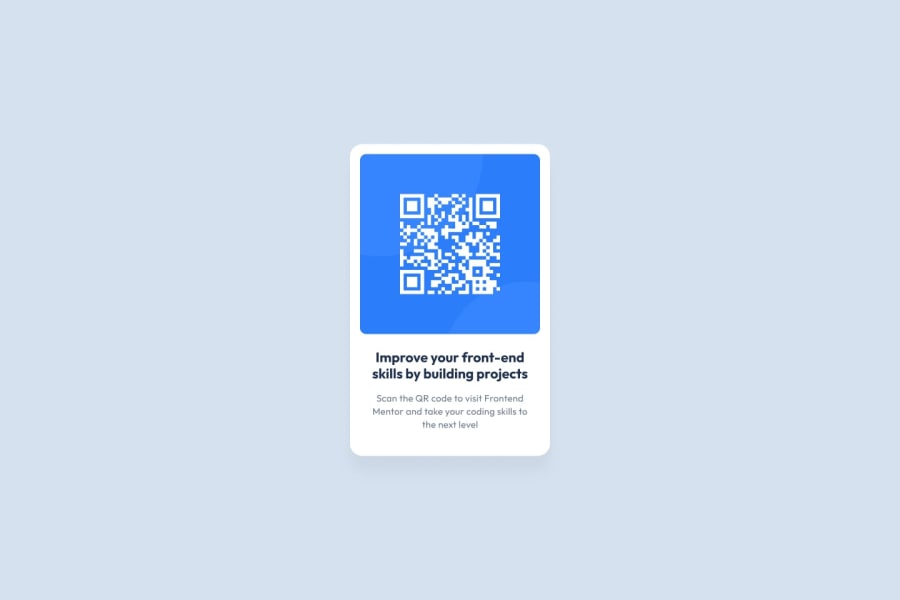
🔹This is a meaningful image and in case the user can't see it, the alt text should give a good description, maybe something like 'Qr code to visit the Frontend Mentor site'.
CSS 🎨:
🔹You might want to use some CSS reset, as a good practice at the start of each project. A popular CSS Reset from Josh Comeau 🔎
For example, these are some very common and useful basic resets:
*, *::before, *::after { box-sizing: border-box; margin: 0; padding: 0; } picture, img, svg { display: block; max-width: 100%; }🔹Length units such as pixels may not be the best alternative because screen sizes and user preferences vary, and absolute units don’t scale. Relative units like em or rem are a better option for scalable layouts (the page will adjust to the user's browser settings) and maintenance (to make changes without having to adjust every pixel value).
🔹You don't need to use
font-weightof 400 and 700 as these are the default values for the normal and bold font respectively. So, these are the default values for paragraphs and headings.Please let me know if you disagree with something or if you would like more information on any of these topics.
If you have any questions I’m here to answer so don't hesitate 🙂
Regards,
Marked as helpful0 - @AzzumarithmPosted over 1 year ago
not sure about the image, you might want to check if the path is accurate in the src img attribute and see if the image is in the right directory.
About the centering, just make the body height : 100vh and then display: flex, justify-content: center (for horizontal center), align-items : center (for vertical centering).
Marked as helpful0@SorpandaPosted over 1 year agoFound out that I forgot to put the images in github itself too..I had more trouble with Github than the challenge itself. I`m going to try out the height and display settings you mentioned. Thanks! @Azzumarithm
0


Please log in to post a comment
Log in with GitHubJoin our Discord community
Join thousands of Frontend Mentor community members taking the challenges, sharing resources, helping each other, and chatting about all things front-end!
Join our Discord