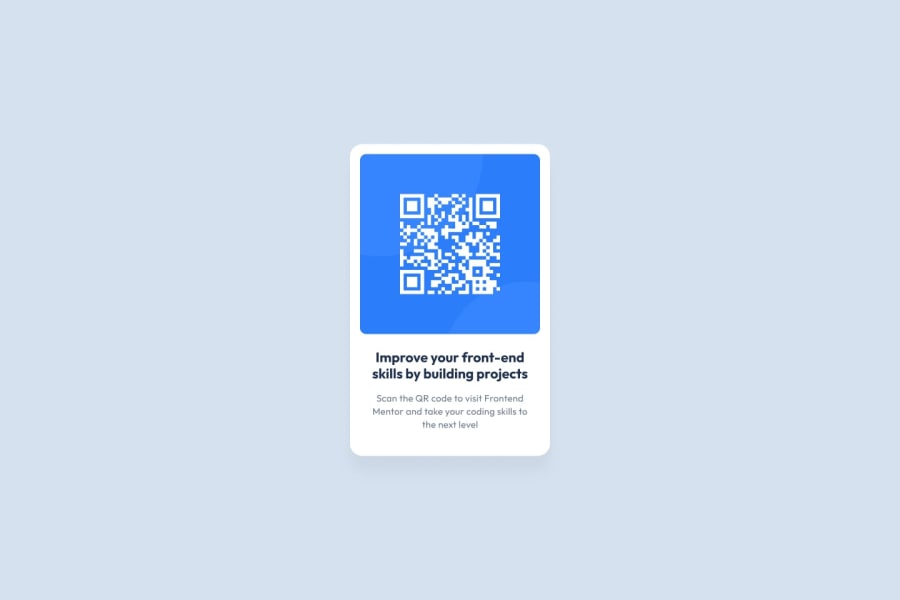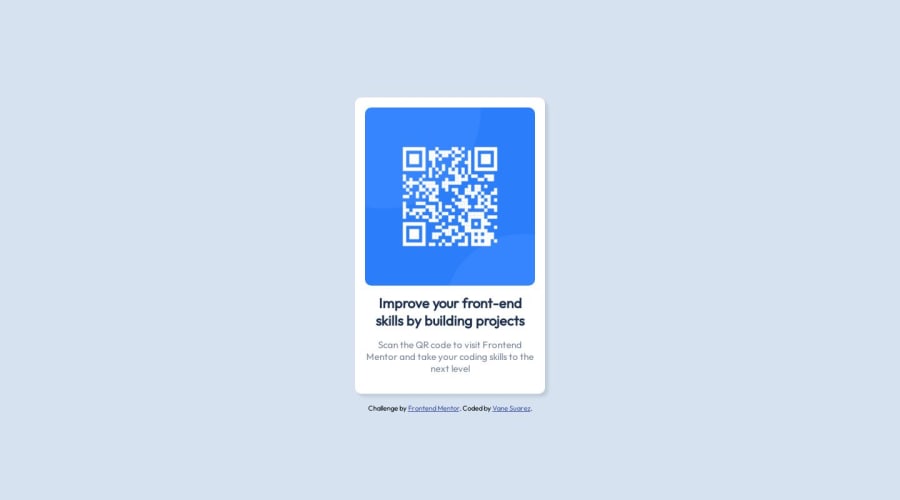
Design comparison
Solution retrospective
- What is the best practise to make a website responsive?
- How do you make the calculations for relative sizes to make it responsive?
Community feedback
- @kanishkasubashPosted about 1 year ago
Here are some small suggestions after taking a look at your code to make it even better that might interest you:
HTML:
- The
<meta>
,<title>
, and<link>
tags are typically used in the<head>
section of an HTML document, not within the<body>
section. The<head>
section contains metadata and external resources that are important for the structure and presentation of the webpage but are not directly part of the visible content. - The
<main>
element should wrap around the entire component. Using the<header>
,<main>
,<footer>
elements provide structural clarity, accessibility improvements, SEO benefits, and facilitates responsive design. It helps you create well-organized, maintainable, and user-friendly web pages. - It's important to note that the
alt
text should be descriptive but concise, conveying the essential information without being overly long. It should provide a meaningful summary of the image's content and purpose. (Eg:alt="QR Code for frontendmentor.io"
)
CSS:
- You should use a CSS reset. A CSS reset is a set of CSS rules that are applied to a webpage in order to remove the default styling of different browsers.
CSS resets that are widely used:
"My Custom CSS Reset" by JoshWComeau
I hope you find this helpful! 😄 Keep up the great work! 👍
🖥️Happy coding!
Marked as helpful0 - The
- @kanishkasubashPosted about 1 year ago
Hi, Vanesa👋. Congratulations on successfully completing the challenge! 🎉
Your solution looks great, and you've done a fantastic job overall! However, here are answers to your questions that might interest you:
Making a website responsive involves designing and developing your website so that it adapts and looks good on various devices and screen sizes, from desktop monitors to smartphones and tablets. Here are some best practices for creating a responsive website:
-
Use a Mobile-First Approach: Start designing and developing your website with mobile devices in mind first, and then progressively enhance the design for larger screens. This approach ensures that your website will look and function well on smaller screens and can gracefully scale up.
-
Flexible Grid Layout: Use a flexible grid system, such as the CSS Grid or Flexbox, to create a layout that can adjust its columns and rows based on the screen size. This allows content to reorganize itself effectively on different devices. This article explains it quite well Link. A video by Kevin Powell which demonstrates in practice when you would use which Link
-
Media Queries: Media queries are CSS rules that apply specific styles based on the screen size and characteristics of the device. Use media queries to define different styles for different screen sizes, ensuring that your design remains visually appealing across a range of devices.
-
Relative Units: Instead of using fixed units like pixels, use relative units such as percentages, ems, and rems. These units scale based on the parent element's size, allowing content to adjust proportionally when the screen size changes.
-
Fluid Images: Use the CSS property
max-width: 100%
on images to ensure they scale down proportionally to fit smaller screens while maintaining their aspect ratio. -
Viewport Meta Tag: Include the viewport meta tag in your HTML to control how your website is displayed on different devices. This tag helps set the initial viewport width, scale, and other properties.
-
Font Sizes: Use relative units for font sizes to ensure that text remains legible on various screen sizes. Avoid using fixed pixel values for font sizes.
-
Testing: Regularly test your website on different devices, browsers, and screen sizes to identify any issues and make necessary adjustments. There are online tools and browser developer tools that can help simulate different screen sizes.
Calculating Relative Sizes:
To calculate relative sizes for making your website responsive, you'll generally use percentages, ems, rems, and other relative units instead of fixed pixels. Here's a brief explanation of these units:
-
Percentages: Percentages are often used to define widths, heights, and margins. They are relative to the parent element's size. For example,
width: 50%
would make an element half the width of its parent. -
Ems: An "em" is a unit that's relative to the font size of the element. If an element's font size is 16px and you set its width to 2em, it would be 32px wide.
-
Rems: A "rem" is similar to an "em," but it's relative to the root element's font size (usually the
<html>
element). This makes it easier to create consistent scaling across the entire website.
When creating responsive designs, you don't need to do complex calculations manually. Instead, focus on using these relative units in your CSS and letting the browser handle the scaling based on the device's characteristics. Modern CSS frameworks and tools also provide features to help you create responsive layouts more efficiently.
Marked as helpful0@vanesuarezPosted about 1 year agoThis was super helpful, thank you so much! @kanishkasubash
0 -
- @orphandeityPosted about 1 year ago
Great job on this challenge!
If you want to make your sizes responsive, you could use viewport units (vh and vw). These act like percentages and you use them in a similar way. For example:
.container { height: 50vh; width: 50vw; }
Another way to accomplish responsive design is with media queries. With media queries you can make different rules for different screen sizes. This article explains the concept much better than I could ever hope to.
I hope this helps... keep up the awesome work and keep asking questions!
Marked as helpful0 - @Kristhian92Posted about 1 year ago
Que buen trabajo dónde aprendiste?
0@kanishkasubashPosted about 1 year ago@Kristhian92
Aprendí los conceptos básicos en la universidad y mejoré mis conocimientos y habilidades a través del autoaprendizaje. Frontendmentor es uno de los mejores lugares para eso. Como principiante, seguí esta hoja de ruta para seguir mi viaje https://roadmap.sh/
¡Espero que encuentres esto útil! 😄 ¡Mantener el buen trabajo!👍
0 - @ascorreaPosted about 1 year ago
Hola, puedo saber cómo subes tus capturas. Mis soluciones en el link en vivo se ven bien, pero en las capturas de frontend mentor no se muestran acorde a la realidad. Debo aclarar que no tomo ninguna captura porque no se donde se suben o cómo subirlas, solo dejo que frontendmentor lo haga automaticamente.
0@FranklivaniaPosted about 1 year ago@chokdiand
This is how you can take your images and find where they are located
Taking screenshots: It depends on what you are using. For Windows systems, you can use the hotkeys
shift + win + s
to start the capture. You would see it pop on your screen, then holding theleft-click
, you can drag across the area you want to screenshot. That is for windows. I think the same thing is applicable to Linux too.Alternatively, you can use the hotkey
win + prt sc
to take a full-screen screenshot.Storage: The file is stored in your pictures folder. use the hotkeys
win + E
to open up the explore page, then click on the pictures folder. You'd then go to the screenshots/captures folder, depending on where your system saves it. you should be able to see your saved screenshots.Hope this helps.
2@ascorreaPosted about 1 year ago@Franklivania gracias, y donde las debo guardar para que frontendmentor las encuentre, hice hace poco un descubrimiento que se pueden escribir directamente la ruta en el readme.md pero y ya hice una prueba pero el frontendmentor me sigue cargando una captura que no es la que subi
1@FranklivaniaPosted about 1 year ago@chokdiand
Yes, a path can be written on the readme. The thing I did, and would continue doing, is to just rename my screenshot to
screenshot
, and change the.jpg
to.png
as the automatic capture is saved in.png
. Then I would save that image in the root folder of my file. because it is the same place as myREADME.md
, so I would not have any hassles routing to the particular folder it is located.1@kanishkasubashPosted about 1 year agoHola, @chokdiand
En respuesta a tu pregunta, El modo de diseño responsivo es otra característica poderosa que ofrece el navegador Firefox. Le permite simular cómo aparecería y se comportaría un sitio web en diferentes dispositivos y tamaños de pantalla, lo que lo convierte en una herramienta valiosa para desarrolladores y diseñadores web.
A continuación te explicamos cómo puedes acceder y utilizar el modo de diseño adaptable en Firefox:
-
Modo de diseño adaptable abierto:
- Abre el sitio web que deseas probar en Firefox.
- Haga clic derecho en cualquier parte de la página y seleccione "Inspeccionar elemento" o presione
Ctrl + Shift + I
(oCmd + Opción + I
en Mac) para abrir las Herramientas de desarrollador. - En la esquina superior derecha del panel Herramientas para desarrolladores, haga clic en el icono "Alternar modo de diseño adaptable". Alternativamente, también puedes usar el método abreviado de teclado
Ctrl + Shift + M
(oCmd + Opción + M
en Mac).
-
Simule diferentes dispositivos y tamaños de pantalla:
- En el modo de diseño responsivo, verá una barra de herramientas en la parte superior de la pantalla con opciones para elegir diferentes ajustes preestablecidos de dispositivos (por ejemplo, teléfonos inteligentes, tabletas, computadoras portátiles).
- También puedes personalizar el tamaño y la orientación de la pantalla haciendo clic en los menús desplegables junto a los ajustes preestablecidos del dispositivo.
- A medida que cambie el tamaño de la pantalla, el diseño del sitio web se ajustará para reflejar cómo aparecería en el dispositivo seleccionado.
-
Comportamiento de respuesta a la prueba:
- Mientras estás en el modo de diseño adaptable, puedes interactuar con el sitio web tal como lo harías en un dispositivo real. Esto le permite probar cómo responden el diseño, las fuentes, las imágenes y otros elementos del sitio web a diferentes tamaños de pantalla.
-
Restringir la velocidad de la red:
- El modo de diseño responsivo también le permite simular diferentes condiciones de la red, lo que le ayuda a comprender cómo funciona su sitio web bajo diferentes velocidades de conexión.
-
Características adicionales:
- La barra de herramientas en el modo de diseño adaptable incluye opciones para tomar capturas de pantalla, capturar capturas de pantalla de página completa y grabar un video de sus interacciones.
El modo de diseño responsivo es extremadamente útil para garantizar que su sitio web se vea y funcione bien en una amplia gama de dispositivos y tamaños de pantalla. Puede ayudarle a identificar y abordar cualquier problema de diseño o disposición en las primeras etapas del proceso de desarrollo.
¡Espero que encuentres esto útil! 😄
🖥️¡Feliz codificación!
1 -
Please log in to post a comment
Log in with GitHubJoin our Discord community
Join thousands of Frontend Mentor community members taking the challenges, sharing resources, helping each other, and chatting about all things front-end!
Join our Discord