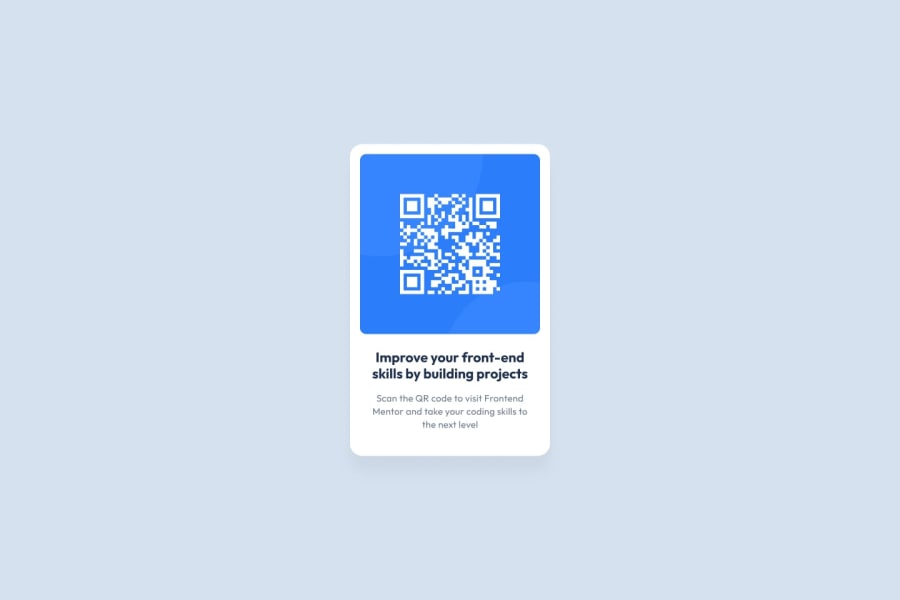
Design comparison
Solution retrospective
I actually strugled with the u/i, cos at first my design didn't look anything close to the sample image. So i deleted the defualt html file content and started writing the code from scratch the way i best understand html later proceded to css had a couple of time i even have to go look at another project i had worked on just to get around css. It's really good stuff that this path of learning comes with challenges. What i'll do diferently next time is dependant on the honest reviews and contributions i'll be getting from the cummuninty.
What challenges did you encounter, and how did you overcome them?I was faced with difficulties tring to get my user interface look just like the sample i was given, so the image wasn't redusing at a time , but afetr couple of twist i had a heads up from a friend that actually worked. He pointed me to an in-lne styling(css) to the html file, code line that targeted had image and it worked i was then able to resize the imge to fit.
What specific areas of your project would you like help with?I know my work is not very much good as per the user interface, so i'll appreciate honest contributions pointing me to where i would have done better with the styling, my css file to this work is available at my git profile provided aabove
Community feedback
- @jakegodsallPosted 9 months ago
Hi 👋
A suggestion regarding the rounded corners of the image.
The best approach to applying this effect is to actually apply the element containing the image, in your case a
<section>. By applying aborder-radiusto this container, and setting theoverflowto be hidden, you can achieve this rounded corner effect..image-container { border-radius: 10px; overflow: hidden; }Also, I would recommend to switch this container from a
<section>to a<div>for accessibility reasons. Using a<section>element to create structure around an image like this does not make sense semantically.Hope this helps! Happy coding 😁
Marked as helpful0 - @0xabdulkhaliqPosted 9 months ago
Hello there 👋. Congratulations on successfully completing the challenge! 🎉
- I have a suggestion regarding your code that I believe will be of great interest to you.
QR iMAGE ALT TEXT 📸:
- Since this component involves scanning the QR code, the image is not a decoration, so it must have an
altattribute.
- The
altattribute should explain the purpose of theimage.
- E.g.
alt="QR code to frontendmentor.io"
<img src="/images/image-qr-code.png" alt="QR code to frontendmentor.io">
.
I hope you find this helpful 😄 Above all, the solution you submitted is great !
Happy coding!
Marked as helpful0@ValchaliPosted 9 months ago@0xabdulkhalid thank you a million times for pointing that to me..
0 - @AshongAbdallah06Posted 9 months ago
Hi there. A few suggestions. To make your project look close to the original design. You can add a
border-radiusto the qr-code image. And then maybe decrease thewidthof the text at the bottom so that it looks a little bit close to the original.Good Luck on your changes🎉👍
0
Please log in to post a comment
Log in with GitHubJoin our Discord community
Join thousands of Frontend Mentor community members taking the challenges, sharing resources, helping each other, and chatting about all things front-end!
Join our Discord
