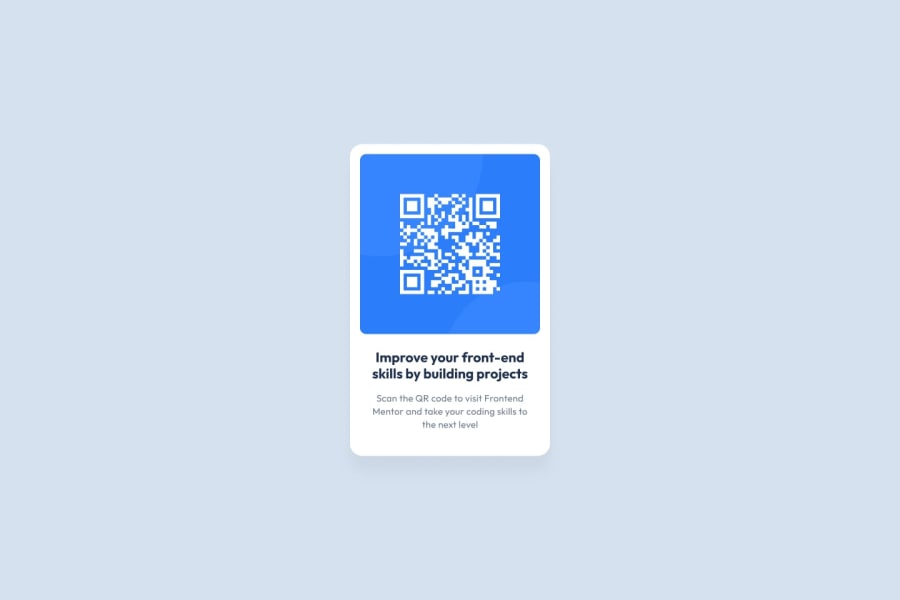
Design comparison
Solution retrospective
Hello guys whatever feedbacks is welcome here
Community feedback
- @correlucasPosted about 2 years ago
👾Oi @Baleke, tudo bem? Parabéns pelo desafio! Seja bem vindo a comunidade do Frontend Mentor
Acabei de ver sua solução e tenho umas dicas pra melhorar seu código/design:
1.Ao invés de usar
<p>pro bloco contendo o título principal, ao invés use<h1>, porque cada página precisa de um h1 pro título principal e siga a sequência se você adicionar outro título como h1, h2 , h3…2.Use unidades relativas como
remouemem vez depxpara melhorar seu desempenho redimensionando fontes entre diferentes telas e dispositivos. Para fazer um site mais acessível, o ideal seria usar rem em vez de px. O REM não se aplica apenas ao tamanho da fonte, mas também a todos os tamanhos.3.O seu componente já está com o design pronto, um bom exercício para melhorar seu código, seria criar a estrutura mais limpa o possível e reduzir seu código ao máximo. Por exemplo, você pode segurar todo conteúdo em um bloco só usando (
<main>ou<div>) nesse caso vamos usar<main>por que é uma tag semântica. Se você notar, nem precisa adicionar nenhum div além da principal para segurar o conteúdo (img, h1 e p). A estrutura ideal e mais limpa possível para esse desafio é essa aqui:<body> <main> <img src="./images/image-qr-code.png" alt="QR Code Frontend Mentor" > <h1>Improve your front-end skills by building projects</h1> <p>Scan the QR code to visit Frontend Mentor and take your coding skills to the next level</p> </main> </body>👋 Espero que essas dicas te ajudem e que você continue no foco!
Marked as helpful1@BalekePosted about 2 years ago@correlucas eae Lucas beleza? Cara vou seguir sua dica é daqui a pouco quando voltar do trabalho vou alterar, sigo estudando, valeu mano!!!
0 - @MelvinAguilarPosted about 2 years ago
Hi @Baleke 👋, good job for completing this challenge and welcome to the Frontend Mentor Community! 🎉
In addition to the above comments here are some suggestions you might consider:
- Don't name your class with camelCase use naming conventions to name it.
- Use
max-width: 280pxto.cardselector instead of width, this will make the card container a bit responsive on mobile, but no larger than 260px. - Use
min-height: 100vhtobodyselector, with this property you set a height and you let the element grow even more if necessary. - Update the image to make it a bit responsive:
.card img {
    max-width: 240px;
    width: 85%;
    border-radius: 10px;
}
I hope those tips will help you.
Good Job and happy coding !
Marked as helpful0@BalekePosted about 2 years ago@MelvinAguilar Alright, i changed somethings!
0 - @LarryTheFatCatPosted about 2 years ago
Hey!
Nice work on the challenge!
Small card! That's alright,
Couple things:
1.- Very small card, but that was very cool how you still made it look like the image! 2.- Fix the 1 accessibility issue, should be a very easy fix 3.- If you can, try to fix the <p> attribute text color, that should be changed and you can do that by doing
color: {selected-color}Other then that, nice work!
Marked as helpful0@BalekePosted about 2 years ago@TwoThreeTwo oh i forget to change this colors, now changed
0 - @Kamasah-DicksonPosted about 2 years ago
- Your solution looks great but not responsive. Use max-width for your card instead of just width .
- Don't use px for card widths, use rem to achieve responsiveness.
- To help with the accessibility issues wrap your card in a main semantic tag.
- Your footer must be text align center.
- Bonus Headings must be used in reducing order e.g h1,h2,h3,h4 do not mixed them up they should be used in descending order. I hope this was helpful😀
Happy coding and have a nice day👍
0
Please log in to post a comment
Log in with GitHubJoin our Discord community
Join thousands of Frontend Mentor community members taking the challenges, sharing resources, helping each other, and chatting about all things front-end!
Join our Discord
