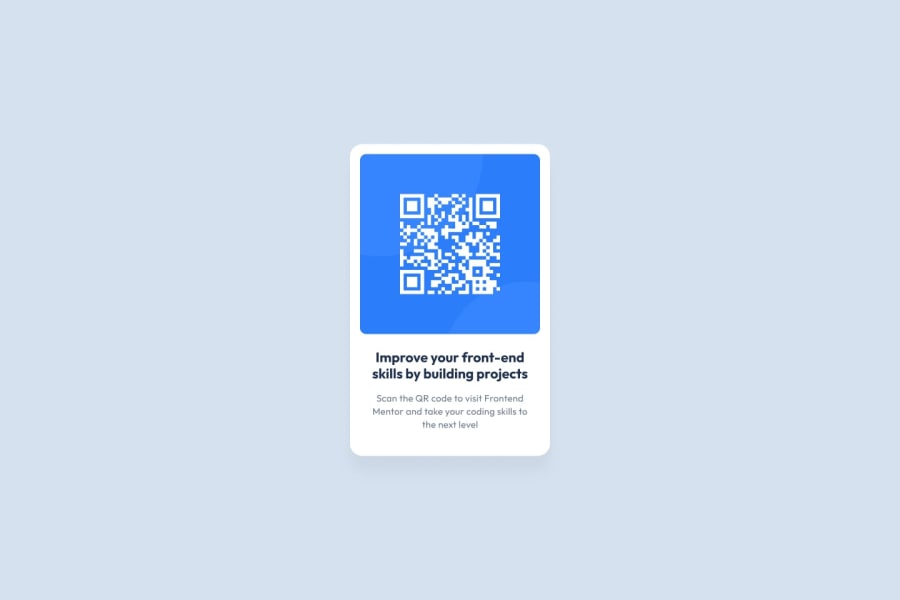
QR Code Component
Design comparison
Solution retrospective
Most Proud Of:
-
Dynamic Routing and Navigation: Successfully implemented dynamic routing and navigation using React Router, ensuring that users are redirected appropriately based on the URL parameters. By changing the URL parameters from "/1" upto "/4". You will render a different QR code and different content.
-
Fetch API Integration: Efficiently used the Fetch API to retrieve content from a JSON file and display it dynamically in the application.
-
Responsive Design: Implemented a clean and responsive design using Tailwind CSS, making the app look good on various screen sizes.
-
Error Handling: Included error handling to manage fetch failures and unexpected situations, improving the robustness of the application.
What would you do differently next time:
-
State Management: Consider using a state management library like Redux or Context API if the application grows in complexity, to manage state more efficiently. Code Optimization: Refactor the code to make it more modular, such as extracting the fetch logic into a custom hook.
-
Loading Animation: Enhance the user experience during the loading state by adding a more sophisticated animation or loading spinner.
-
Error Display: Improve the user interface for displaying errors to make it more user-friendly and informative.
Challenges
-
Dynamic Routing: Implementing dynamic routing with React Router to handle different sections based on the URL parameter. Followed the React Router documentation and tutorials to understand how to use the useParams hook and the component for dynamic routing and redirects.
-
Fetching Data: Ensuring that data is fetched correctly and handling potential errors in the data fetching process. Used async/await for the fetch operation and added error handling to catch and manage errors gracefully.
-
Conditional Rendering: Rendering content conditionally based on the fetched data and handling cases where the data might be missing or incorrect. Implemented conditional rendering to check if the data exists before attempting to display it, and used redirects for cases where data was not found.
-
Styling with Tailwind CSS: Learning and effectively using Tailwind CSS to style the components and ensure responsiveness. Referenced the Tailwind CSS documentation and examples to apply the appropriate classes and achieve the desired design.
Specific Areas for Help:
-
Performance Optimization: Guidance on optimizing the performance of the app, especially with larger datasets or more complex components.
-
Advanced Routing Techniques: Best practices for managing more complex routing scenarios, including nested routes and authentication-based routes.
-
Improved User Experience: Tips on enhancing the overall user experience, such as adding animations, transitions, and more interactive elements.
-
Accessibility: Ensuring the application is accessible to all users, including those with disabilities, and following best practices for accessibility in web applications.
-
Testing: Setting up a robust testing environment, including unit tests and end-to-end tests, to ensure the reliability and maintainability of the application.
Community feedback
Please log in to post a comment
Log in with GitHubJoin our Discord community
Join thousands of Frontend Mentor community members taking the challenges, sharing resources, helping each other, and chatting about all things front-end!
Join our Discord
