Design comparison
Solution retrospective
Proud I could finish a project in a day
Community feedback
- @kiaraaa123Posted 5 months ago
Hey Gilbert,
Good job on your project, and congrats on finishing it a day! I'm always excited when that happens too, lol. You did a great job but I just wanted to offer a couple of tips that might be useful in the future:
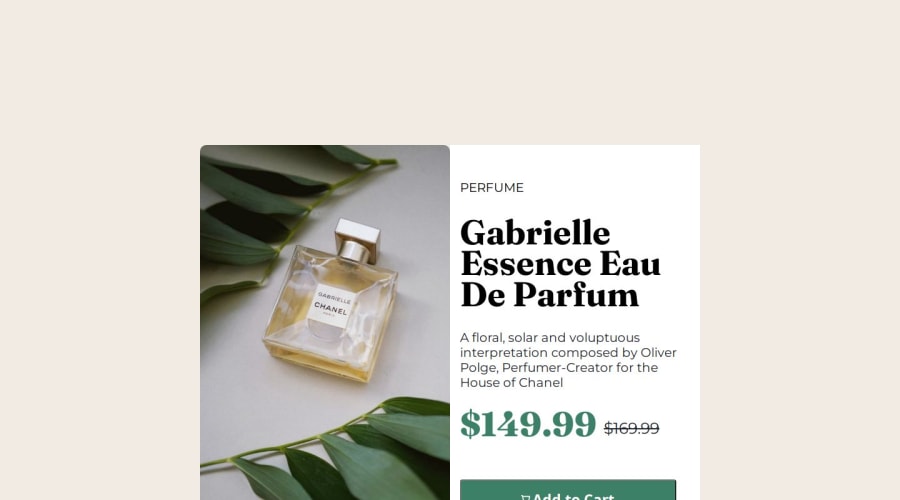
- To differentiate the border-radius on each side, you use four values. They represent each corner going clockwise, starting from the top left. For example, for the image in this project, you would use
border-radius: 10px 0 0 10px;
- To remove the auto-styling on the button, you can use
border: none;
- Lastly, you can call
button svg
to add a little padding between the cart icon and the button text
Again, you did an amazing job! Looking forward to seeing your next project in my feed.
Marked as helpful1 - To differentiate the border-radius on each side, you use four values. They represent each corner going clockwise, starting from the top left. For example, for the image in this project, you would use
- @grace-snowPosted 5 months ago
Hey is your repo private? I can’t see the code.
1@grace-snowPosted 5 months ago@Gilbert-Koom check the code link above in a fresh (incognito) browser. It’s definitely not working.
0@grace-snowPosted 5 months agoThanks @Gilbert-Koom!
I can see quite a few issues that need addressing in the HTML and some css of this:
- there should only be one set of preconnect google font links in the head. And you should only be linking the specific font weights you need. You can even combine them into one link (plus the two preconnect links beforehand). Otherwise it seriously damages performance (speed).
- this is one card component. That means all of it should sit within the main landmark of a page. You could use one section for the whole component as well if you wanted (inside main) but not a section for each half of the card. That just doesn’t make any sense in terms of meaningful content structure.
- the product image is extremely important content, not decorative. It must have a properly written alt description. There are some great posts in the resources channel in discord about how and when to write good alt text.
- don’t capitalise text in the html. Use CSS for that. Some screen readers will read out capitalised text as if it’s an acronym.
- this card has a heading but that’s missing from the html at the moment.
- the strikethrough (old) price must be wrapped in a strikethrough element not span.
- you should only be loading one stylesheet in this, not two. Mobile styles should be the default then there are only a few lines that need to change for the larger screen styles in a min width media query.
- get into the habit of always including a full modern css reset at the start of the styles in every project.
- no min widths are required in this.
- Your font size declarations are making this solution completely inaccessible at the moment! I cannot stress enough - you must never ever use viewport units for font size. If using clamped font sizes you must convert all sizes to rem, including the central value that would need to be rem plus a viewport value. See the utopia font scale site for examples. Font sizes need to be in rem so they scale properly for all people including those with a different default text size.
- you can set border radius on the whole component instead of child elements. Just use overflow hidden on the component to crop out the overflowing child corners.
- the button should be width 100% not 90%. The padding on the white half of the card will stop it hitting the edges of its wrapper.
- media queries should be defined in rem or em not px.
- the component should have a single max width in rem. you then make this larger for larger screens. The two halves should not have any widths on them.
- Make sure you understand the difference between padding and margin. It’s really unusual to have padding on paragraphs.
- try to stick to single class selectors on whatever you want to style. Element styles should only really be in a reset and at the very start of a project, everything else goes on classes.
- to center the component in the viewport use flex column properties on a wrapping element like body or main in this case.
Marked as helpful1 - @danielmrz-devPosted 5 months ago
Hey there! 🙋🏽♂️
Congrats on completing the challenge! ✅
Your project looks fantastic!
Here's a tip to make it even better:
Using
margin
and/orpadding
isn't always the best way to center an element. Try this super efficient method to center an element vertically and horizontally:📌 Apply this CSS to the body (skip position or margins to make it work correctly):
body { min-height: 100vh; display: flex; justify-content: center; align-items: center; }
Hope this helps!
Keep up the great work!
1@Gilbert-KoomPosted 5 months agoShould I apply the css on the media query or on the mobile design
0
Please log in to post a comment
Log in with GitHubJoin our Discord community
Join thousands of Frontend Mentor community members taking the challenges, sharing resources, helping each other, and chatting about all things front-end!
Join our Discord