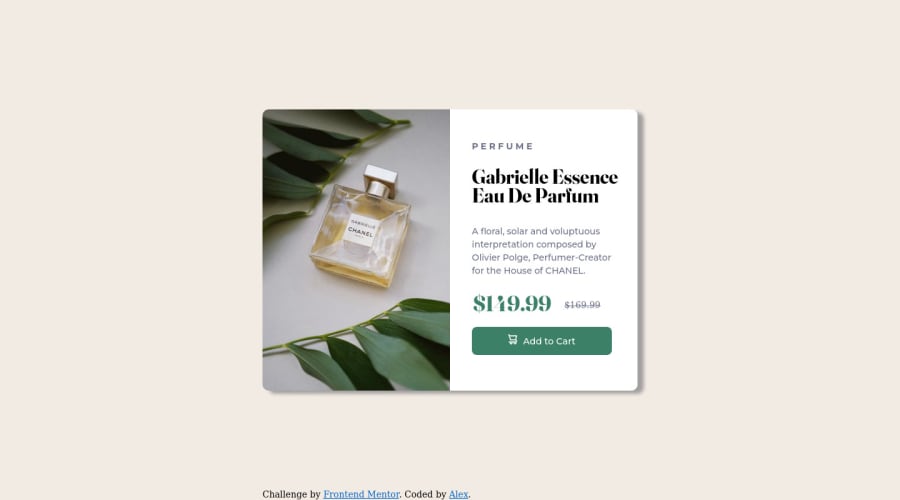
Design comparison
Solution retrospective
Hello guys. I couldn't insert the corresponding image for mobile. I tried through CSS with url() but doenst work for me. If you have any advice i will appreciate it.
Alex
(just inserted the main photo inside html with img)
Community feedback
- @elaineleungPosted over 2 years ago
Hi Alex, one suggestion I have is to try the
pictureelement, which can help you handle different sized images. What you do is provide the different images with the respective media queries of when you want the image used using thesourcetag, and in theimgyou would put the image that goes with the code you wrote without the media query. I usually do mobile first, so my HTML would look like this:<picture> <source media="(min-width: 960px)" srcset="image-desktop.png" /> <img src="image-mobile.png" alt="perfume bottle" /> </picture>Hope this helps!
Marked as helpful2 - @Joseph-BenavidesPosted over 2 years ago
Hey there Alex, great work on your card component, I have a few tips for you that could help out!
To make the layout more responsive you can remove the min-width that you have set on the body.
Instead of using a <picture> element use a <div> or <img> element instead.
To insert the corresponding image for mobile, have it set up in your html and in css display it as none, then in your media query set the display as unset, and set the width and height to your liking!
Marked as helpful1@Alex6pcPosted over 2 years ago@Joseph-Benavides
Thank you Joseph. I will check your advices.
0 - @correlucasPosted over 2 years ago
👾 Hello Alex, congratulations for solution!
If you don't dont manage the CSS to do the switch the image between devices. You can use the <picture> tag inside the html and insert both mobile and desktop images. This way you don't touch a single css line of code and apply the image changes.
See one example of the picture tag applied:
<picture>
  <source media="(min-width:465px)" srcset="img_white_flower.jpg">
  <img src="img_orange_flowers.jpg" alt="Flowers" style="width:auto;">
</picture>
As you can see in the previous example, all you need to do is work with the source values and insert the image folder location.
I hope this helps you to improve your code. Keep it up.
Marked as helpful1
Please log in to post a comment
Log in with GitHubJoin our Discord community
Join thousands of Frontend Mentor community members taking the challenges, sharing resources, helping each other, and chatting about all things front-end!
Join our Discord
