
Design comparison

Solution retrospective
In this challenge, I learned:
- Centering a svg element in a div box
- overlaying color on an image
- Creating a reposive square div box
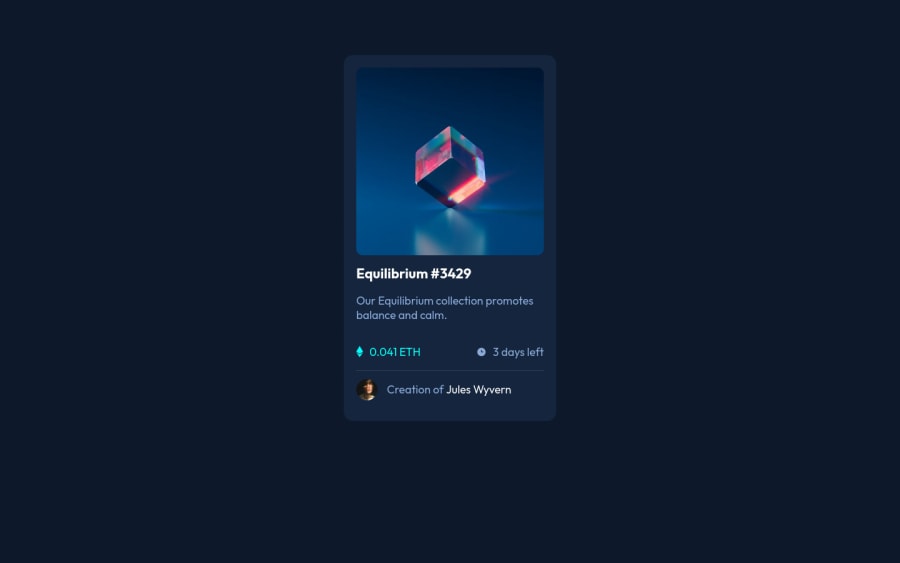
The most challenging part is the Card Image with a view-icon with color ovarlay when hovering. In the first try, I divided it into three component: a div box, an image and a svg icon, but then I found it difficult to correctly center the icon on the image.
After studying different resources on the web, I simplified it: a div box with background-image and an svg icon. To easily center the svg icon on the image, I set the position of the div box to relative and the svg icon to absolute so the svg icon is positioned relative to its parent: the div box.
parent-div { position: relative; } child svg { position: absolute; }
The Card Image acted as the background image of the div box and so the div box needed to be responsive square to fit the image. I learned the use of padding-top to make it responsive square:
image-box { width: 100%; padding-top: 100%; }
As the svg icon was absolute positioned, it was not affected by the padding and can be easily centered:
svg-icon { left: 50%; top: 50%; transform: translate(-50%, -50%); }
Final Challenge was overlaying color on background image when hovering. After research, I learned that it can be done by linear-gradient with two same color-stop, which means no graident at all:
image-box:hover { background: linear-gradient(color1, color1), backgraound-image; }
All DONE!
I am new to HTML and CSS. I started learning from freecodecamp and w3school few months ago. I am not sure if the above solution is the best solution and it would be great if you may have a better suggestion.
Community feedback
Please log in to post a comment
Log in with GitHubJoin our Discord community
Join thousands of Frontend Mentor community members taking the challenges, sharing resources, helping each other, and chatting about all things front-end!
Join our Discord