

Design comparison

Solution retrospective
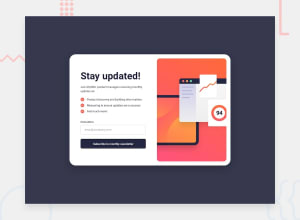
Built this with Nextjs. May be a bit overkill for how simple the application is but I wanted to get some practice with Nextjs.
Not sure the best way to do responsive design. I used state to determine the width of the screen and conditionally render based off of that. I might try making use of the tailwind breakpoint pre-fixes but I am worried it will get messy and not very readable. Also interested in trying Mobile first as I usually do desktop first.
Community feedback
- @MikoyzskiePosted 10 months ago
Hey chleighton1!
- Clean code! Impressive.
- If you're trying to implement mobile responsive site, there's no need of using states for that.
- Tailwind actually has its own viewport width device width classnames for that
- For example, if you want your component to be row on desktop and column on smaller screens, you can use "flex-col md:flex-row" since tailwind is a mobile first css framework
- Also sm: / md: / lg: / xl: are min-width not max-width
- Hope this helps
Happy Coding!
Marked as helpful0@chleighton1Posted 10 months agoThank you @Mikoyzskie! Appriciate the feedback, will try out Tailwind width classnames on the next one!
0 - @solvmanPosted 9 months ago
@chleighton1, great job completing the project!
I agree with @Mikoyzskie; there is no need to use the state to toggle the responsive layout. Alternatively, to tailwind classes, you may use the HTML
<picture>tag to source a different image for various viewport sizes. It could be implemented with a static component as so:import mobileImage from "../assets/images/illustration-sign-up-mobile.svg"; import desktopImage from "../assets/images/illustration-sign-up-desktop.svg"; const ResponsiveImage = () => { return ( <picture> <source media="(min-width: 768px)" srcSet={desktopImage} /> <img src={mobileImage} alt="" /> </picture> ); }; export default ResponsiveImage;Use this
<ResponsiveImage />element in place of the image within your<MainCard />There is an excellent MSDN Article that goes over responsive images: Responsive Images
I hope it helps!
0


Please log in to post a comment
Log in with GitHubJoin our Discord community
Join thousands of Frontend Mentor community members taking the challenges, sharing resources, helping each other, and chatting about all things front-end!
Join our Discord