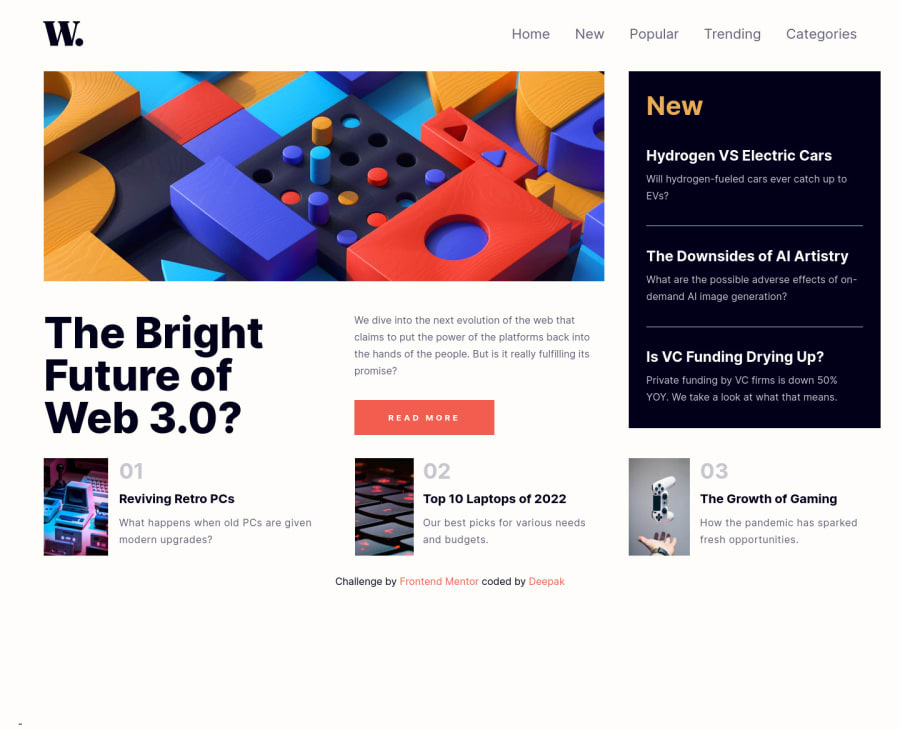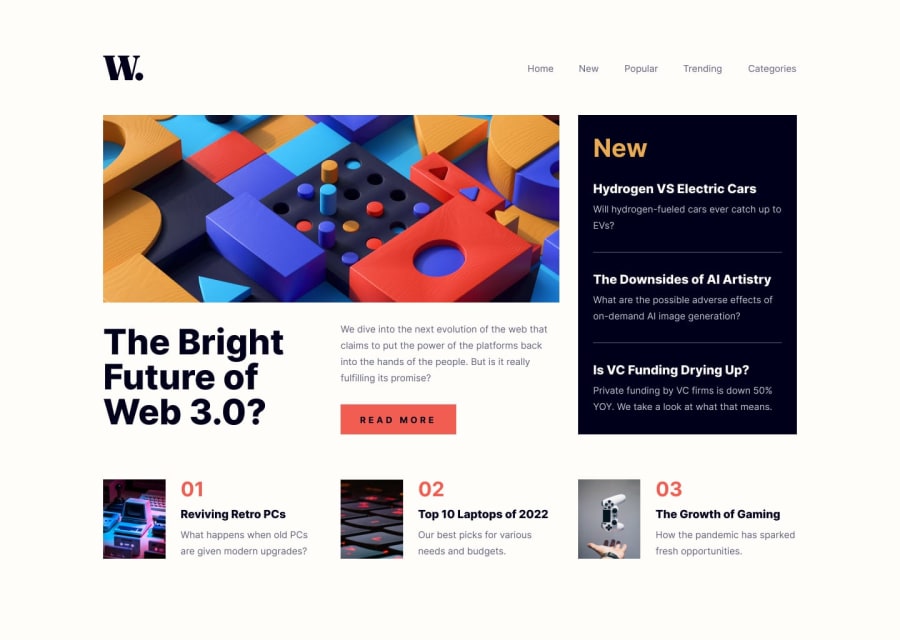
Design comparison
Solution retrospective
I found this project to be more challenging than I expected, particularly the navigation bar. I couldn't find a way to make it and ended up using online navbar generator. This was a great project for practising CSS grid and I learned a lot through this project. Please feel free to provide me with any feedback.
Community feedback
- @SinisaVukmirovicPosted over 2 years ago
Hello!
About different images displaying on desktop and laptop, there is an actual element for that - picture element. You don't need to specially make it with style display none.
But images must have an "alt" attribute. Thats what "alternate text" in your report means.
Also those <blockquote> elements should really be <section> elements, or <article> elements, not blockquote elements.
P.S. You have an unused <ul> element on lines 28 - 29. ;p
Just my 2 cents...
Marked as helpful1@DEEPAK-tech40Posted over 2 years ago@SinisaVukmirovic Thank you for your feedback, brother. Thanks for mentioning those things. I'll take a look at them.
1 - @abdullah43577Posted over 2 years ago
Hello there,
Great job taking on this challenge.
You said you had an issue creating a navbar for the mobile users right? I can give you a step-by-step guide that MIGHT help you if you're interested. Here's how it goes:
I would like to note that you'll need to use Javascript for this. And you don't need to be scared, it's easy.
just follow these steps and try it out and see if it works. If it doesn't you can always reply this thread.
step 1: get your hamburger menu ready. (you can get one from sites like fontawesome.com) placing the hamburger menu just below the nav menu items
step 2: by default most people use the display flex for nav items. I'm also assuming you used that or maybe you used the display inline-block; whichever way you just need to set all the items to a display: block; so each item stacks on top of the other. Something like this:
Home
New
Popular
Trending
Categories

Instead of:
Home New Popular Trending Categories
step 3: the container holding those elements should be given a background color and style it in such a way that it fills up the screen 100vh and width of 100% making sure that all the elements are centered as well. You could also give some margin-top to give space for the hamburger menu and the W logo as well. (make sure you've configured the mobile view section in your chrome dev console while styling all of this).
You can then give the hamburger menu's container or the menu itself depending on the way you want yours a position absolute. making sure that the hamburger menu is nested in some sort of container the nav elements are part of as well. Giving that container a position: relative; and the hamburger menu position: absolute; and styling it in such a way that it stays in the position as desired.
just a little note: at this point you should already give the class holding those nav elements a display: none; so it hides them and then the hamburger should have the CSS property of display: block; so it becomes visible.
In short what I mean is. you should have styled it in such a way that the nav menu are no longer visible and the hamburger is visible.
once you understand it up until this point, please let me know so I can update this thread. The javascript aspect remains from this point.
I know it can be quite confusing, please do let me know if there's any issue you want me to expatriate further.
Marked as helpful0@DEEPAK-tech40Posted over 2 years ago@abdullah43577 Thank you so much for taking your time to do this. I'll follow the steps you mentioned and contact you for further help.
0@abdullah43577Posted over 2 years ago@DEEPAK-tech40 I guessed reading this might be more complicating than I initially thought. I thought it'd be best if you actually see it live in action.
Here is a tutorial I learned with, hopefully it helps you as much as it helped me: https://youtu.be/tEC4kqzNTnM
Here is another one with the highest number of views on youtube as at the time I checked it. I guess it must be a really great tutorial. I haven't watched it myself but I guess it's very well explanatory. Here is the URL as well: https://youtu.be/gXkqy0b4M5g
I'm currently also downloading it so maybe I can learn one or two things there as well.
0@DEEPAK-tech40Posted over 2 years ago@abdullah43577 I will see this tutorial as soon as possible. Thank You for taking your time in sharing this :)
0 - @starryrobotPosted over 2 years ago
Hey Deepak, great job on the final project! The navigation is just a flex container with
justify-content: space-betweenand then adding some padding. On one side you have the logo and then on the other you have the contents of the nav. When you choosespace-betweenwhen applying flex to a div element, it will automatically push the elements in the div apart which creates the desired effect :)As for the contents of the nav itself, that's simply a
ulelement and 5lielements. In order to get the desired effect as seen in the design, you would simply applydisplay: inlineto thelielements which changes the elements from starting on a new one to starting immediately after the last element, so in this case, next to each other.Then you just add
margin-right: [VALUE HERE]pxin order to give thelielements space. In order to make sure the last element doesn't have a margin (because it shouldn't as there isn't another element following it) you can doli:last-child { margin-right: 0 }and this will remove the margin on the last element so the added margin doesn't affect the proportions of the nav.The way I learned this was by watching YouTube videos of websites being designed from scratch! Layout tutorials I find really useful and they can teach you best practices and conventions for designing popular layouts :)
Marked as helpful0@DEEPAK-tech40Posted over 2 years ago@starryrobot Thank you so much for taking your time to do this. I'll look into those tutorials as you mentioned.
0
Please log in to post a comment
Log in with GitHubJoin our Discord community
Join thousands of Frontend Mentor community members taking the challenges, sharing resources, helping each other, and chatting about all things front-end!
Join our Discord
