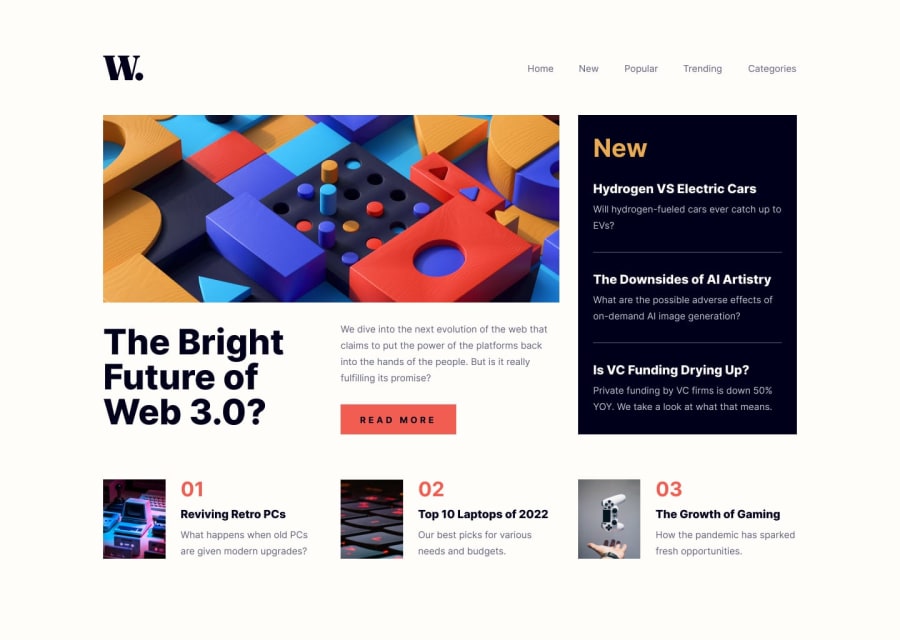
Design comparison
Solution retrospective
This is my second solution. All kind of feedback is welcome. Thank you
Community feedback
- @0xabdulkhaliqPosted over 1 year ago
Hello there 👋. Congratulations on successfully completing the challenge! 🎉
- I have other recommendations regarding your code that I believe will be of great interest to you.
BODY MEASUREMENTS 📐:
- The
width: 100%property forbodyelement is not necessary. because it's a block level element which will take the full width of the page by default.
- Use
min-height: 100vhforbodyinstead ofheight: 100vh. Setting theheight: 100vhmay result in the component being cut off on smaller screens.
- For example; if we set
height: 100vhthen thebodywill have100vhheight no matter what. Even if the content spans more than100vhof viewport.
- But if we set
min-height: 100vhthen thebodywill start at100vh, if the content pushes thebodybeyond100vhit will continue growing. However if you have content that takes less than100vhit will still take100vhin space.
.
I hope you find this helpful 😄 Above all, the solution you submitted is great !
Happy coding!
0 - @lepamoorePosted over 1 year ago
Hey Cool17,
nice Solution! I'm just looking at your code and I noticed some things which I'd like to share with you.
You're using semantic HTML, which is great.
For the body CSS Rule, you should use a height of 100% instead of 100vh. When using 100vh on mobile devices, the browser bar overlaps the content. When using 100% instead, this won't happens since the content will stop before the browser bar.
For the nav CSS Rule, you set the display attribute to flex. But you didn't set any other rules in connection with flex, like align-items or justify center. Instead, you gave your .home container a huge left margin. Instead of the hard coded margin, you could've used something like:
nav:  {
  display: flex;
  align-items: center;
  justify-content: space-between;
}
Align-items centers all items in nav vertically, and justify content creates as much space as possible between the image and the nav list (your home container).
If you want to place some block-level (like div or li) items next to each other, give them a width and display: inline-block; property. That way you can place them next to each other and still style them with margins etc. like block elements.
I recommend using rem units for font-size. Standardized 1rem equals 16px if it isn't changed in the HTML CSS Rule, because of that you can do 18(px) divided by 16 equals 1.125(rem).
your HTML code looks valid to me. Here's just one thing, use the alt attribute on img elements for accessibility and SEO reasons.
and you could use min-width more often so the details containers won't get compressed so much. e.g. for the black New container min-width: 300px; so it doesn't shrink smaller than 300px.
The last issue is that your black New container runs across the webpage when you're resizing the window. To be honest, I don't know why this is happening, but I think It's because the grid isn't set up properly. I think the image isn't in the grid etc. but I could be wrong, I hate CSS grid lmao.
I think these 2 resources do have a huge worth.
-
First a YouTube video about CSS grid in this video there's a grid technique shown which is pretty much the easiest way to use grid, but almost nobody teaches it: Grid YT Video.
-
The second is Flexbox Froggy a really nice way to practice flexbox skills and getting familiar with all opportunities flexbox gives you Flexboxfroggy.
I hope you like my feedback, although I'm not a pro as well.
Happy Coding!
0 -
Please log in to post a comment
Log in with GitHubJoin our Discord community
Join thousands of Frontend Mentor community members taking the challenges, sharing resources, helping each other, and chatting about all things front-end!
Join our Discord
