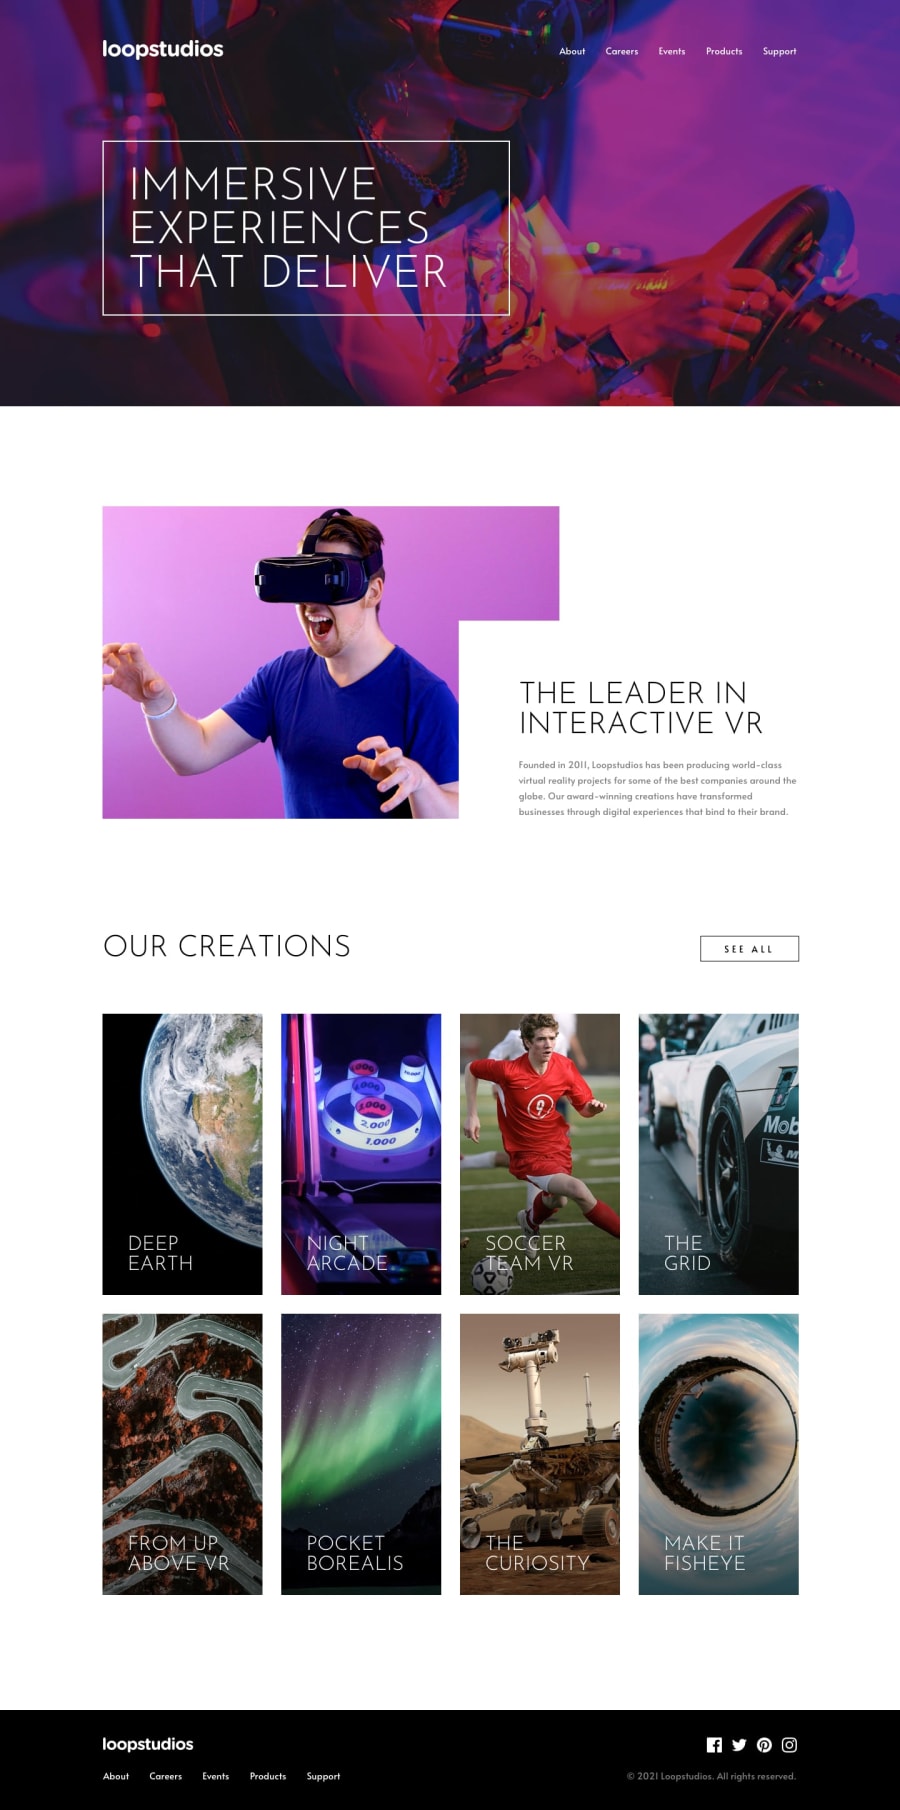
Design comparison
Solution retrospective
Here my solution for this challenge 😌
It was quite a fun challenge, although I admit that changing the positions of the "see all" button and the icons was complicated for me. 🤒
Questions:
- I had problems in the tablet resolution, specifically in the cards section, any way to solve it so that it looks better?🤖
- I know the code is a bit dirty(very dirty) ¿any tips for this?🙇♂️
- I think that css is slow when programming ¿do you recommend the use of Sass or Less?🧐
any comment it's accepted and thanked 💛
have a great day and happy coding 🤖💚
Community feedback
- @correlucasPosted about 2 years ago
👾Hi @edufelibugm, congratulations on your first solution!
I’ve few suggestions for you that you can consider adding to your code:
Its really nice that you’ve used some animation and effects! Something to improve the accessibility its to add a media query reducing the motion.The prefers-reduced-motion CSS media feature is used to detect if the user has requested that the system minimize the amount of non-essential motion it uses. Here’s the code for that:
/* Remove all animations, transitions and smooth scroll for people that prefer not to see them */
@media (prefers-reduced-motion: reduce) {
  html:focus-within {
    scroll-behavior: auto;
  }

  *,
  *::before,
  *::after {
    animation-duration: 0.01ms !important;
    animation-iteration-count: 1 !important;
    transition-duration: 0.01ms !important;
    scroll-behavior: auto !important;
  }
}
✌️ I hope this helps you and happy coding!
Marked as helpful1@edufelibugmPosted about 2 years ago@correlucas thank you very much friend, I will try to apply it to the page as soon as possible
thanks and happy coding 🤖💚
1 - @VCaramesPosted about 2 years ago
Hey, great job on this project!
Some suggestions to improve you code:
- To make your content semantically correct, you want to set up your code in the following manner:
    <body>
      <header>
        <nav></nav>
        <section>IMMERSIVE EXPERIENCES THAT DELIVER</section>
      </header>
      <main>
        <section>THE LEADER IN INTERACTIVE VR</section>
        <section>OUR CREATIONS</section>
      </main>
      <footer></footer>
    </body>
The <header> element contains all your introductory content; Nav, logo, hero section, etc...
The <main> element> wraps your page's main content.
- For your headings, you can only use one <h1> heading per page. So in this challenge, the hero heading will be an <h1> heading while the other headings are <h2> elements. As for the image headings, I would recommend using the <h3> heading.
Source:
https://developer.mozilla.org/en-US/docs/Web/HTML/Element/Heading_Elements
- For your our creation section, its semantically better to wrap each individual image in heading in a <figcaption> element.
Source:
https://developer.mozilla.org/en-US/docs/Web/HTML/Element/figcaption
- When using images that are different size for different breakpoints, its’ far more effective to use the <picture> element. By using this element not are able to use different size images, you can also save on bandwidth, meaning your content loads faster.
Syntax:
  <picture>
    <source media="(min-width: )" srcset="">
    <img src="" alt="">
  </picture>
Source:
https://www.w3schools.com/html/html_images_picture.asp
https://web.dev/learn/design/picture-element/
Happy Coding!
Marked as helpful0@edufelibugmPosted about 2 years ago@vcarames Thank you very much, now I understand the semantic structure better, I will read the resources and try to use the picture and figcapture elements 🤖💚
0
Please log in to post a comment
Log in with GitHubJoin our Discord community
Join thousands of Frontend Mentor community members taking the challenges, sharing resources, helping each other, and chatting about all things front-end!
Join our Discord
